our snow daemon is slowly lying itself down. by the looks of it I would say it moves no more than couple of degrees per day…
python & qt
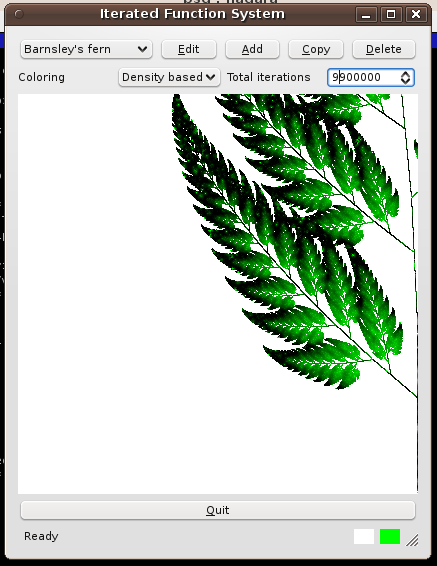
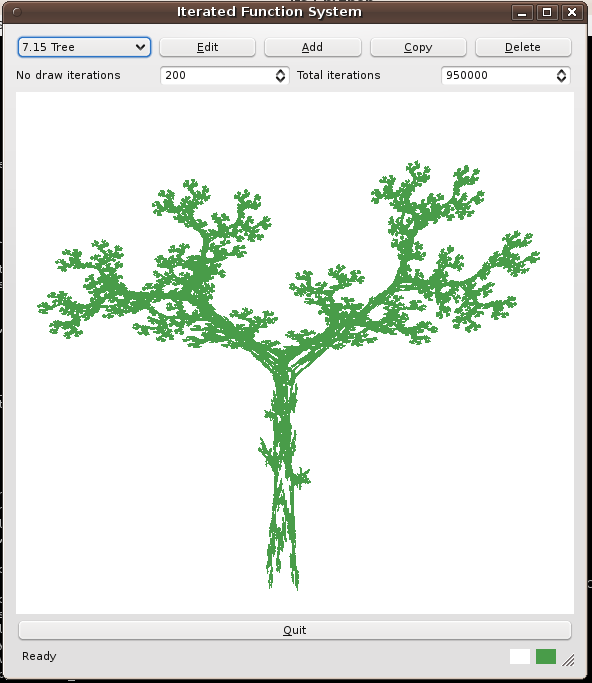
I wanted to learn GUI programming in QT for a long time but never really found enough motivation and a good toy problem to start from. Finally the motivation presented itself as a more or less unconstrained task in one of the courses at school, called computer graphics. I decided to implement the IFS fractal generator that I once saw in The Computational Beauty of Nature . It’s really strange how couple of simple equations can generate such natural looking objects and they would look even more realistic just by adding some random.
Here are couple of screenshots from the application:
QT turned out to be a really elegant library and it’s documentation in the form of qt-assistant was probably the best library documentation that I have ever seen. It is easily navigable and provided lots of good examples that helped a lot. For PyQt specific stuff I skimmed through Rapid GUI Programming with Python and Qt (seems to be a good book) and read some of the sources of the Eric IDE. Altogether it took about 5 working days to write this and most of the time was spent learning QT, so probably now it would take a lot less time, which is impressive considering it has several dialogs and runs rendering in a separate thread etc.
Best of all – things written this way are really portable [1] and will run just fine under linux, *bsd, Mac OS X, windows and several other operating systems. Anyway, here’s the source and you need to have PyQT installed in order to run it (python-qt4 package under debian/ubuntu linux).
1 – as opposed to MS style portable where it usually means you can get it running on other windows versions if you are lucky enough.
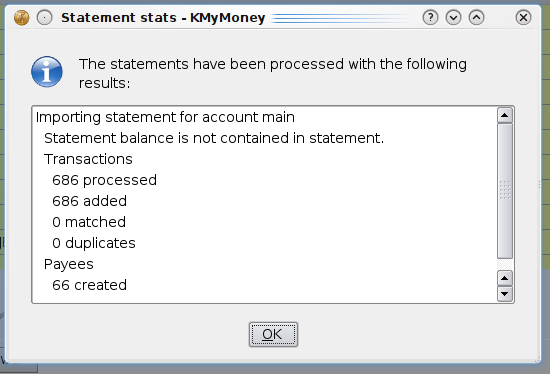
swedbank ja KMyMoney
Kunagi sai kirjutatud pisikesest scriptist millega ma Hansapanga konto väljavõtteid KMyMoney’sse importisin. Vahepeal on aeg veidi edasi läinud, Hansapangast on saanud Swedbank ja ka nende konto väljavõtte CSV formaat veidi muutunud.
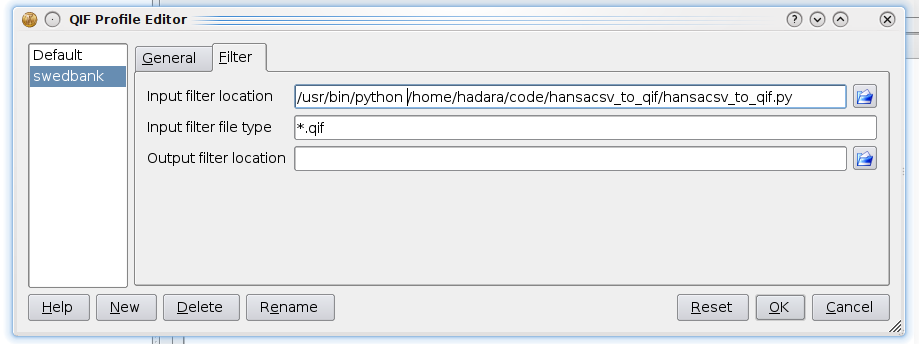
Sai ühesõnaga eelpoolmainitud scripti veidi uuendatud. Lisatud sai võimalus kasutada -c võtit mis võimaldab kontrollida kas mapingu listis (payee_map) on kõigi maksjate kohta defineeritud regexpid. Ühtlasi saab scripti confida nüüd ka QIF formaadi profiili input filtriks.
Script ise siin.
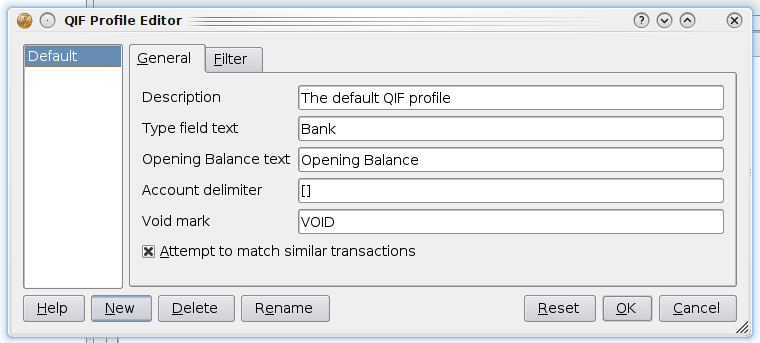
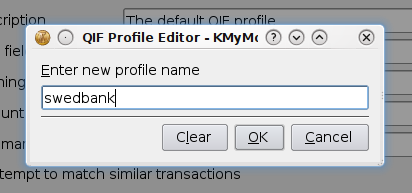
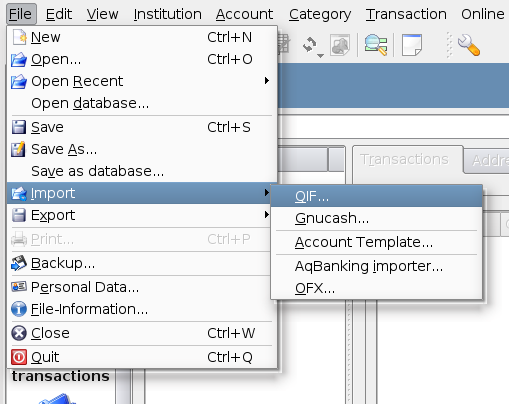
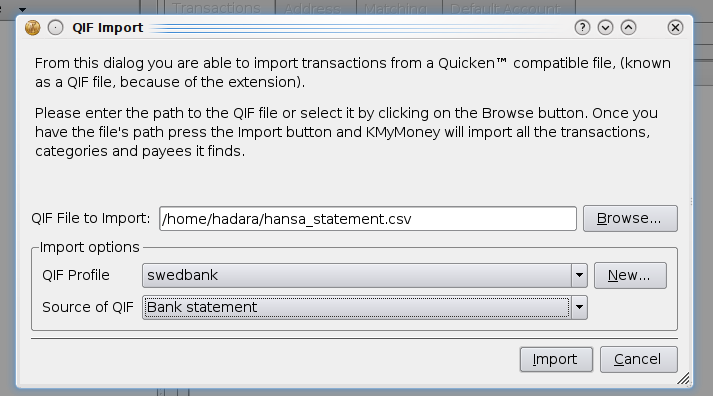
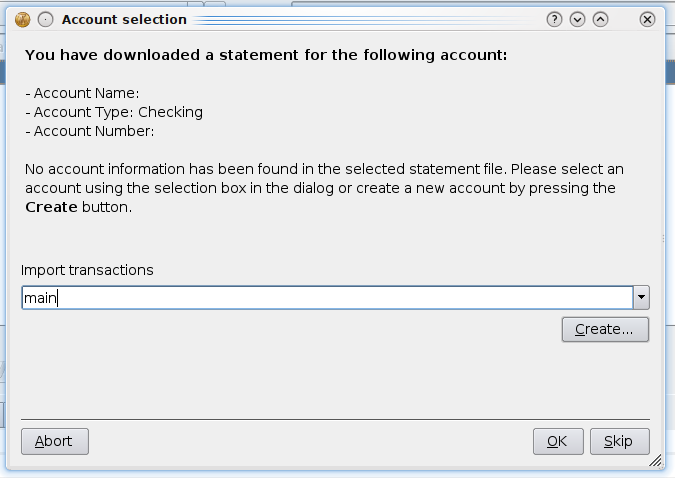
Mõned pildid QIF Swedbanki jaoks QIF profiili confimisest:
snow
a hermaphrodite ?
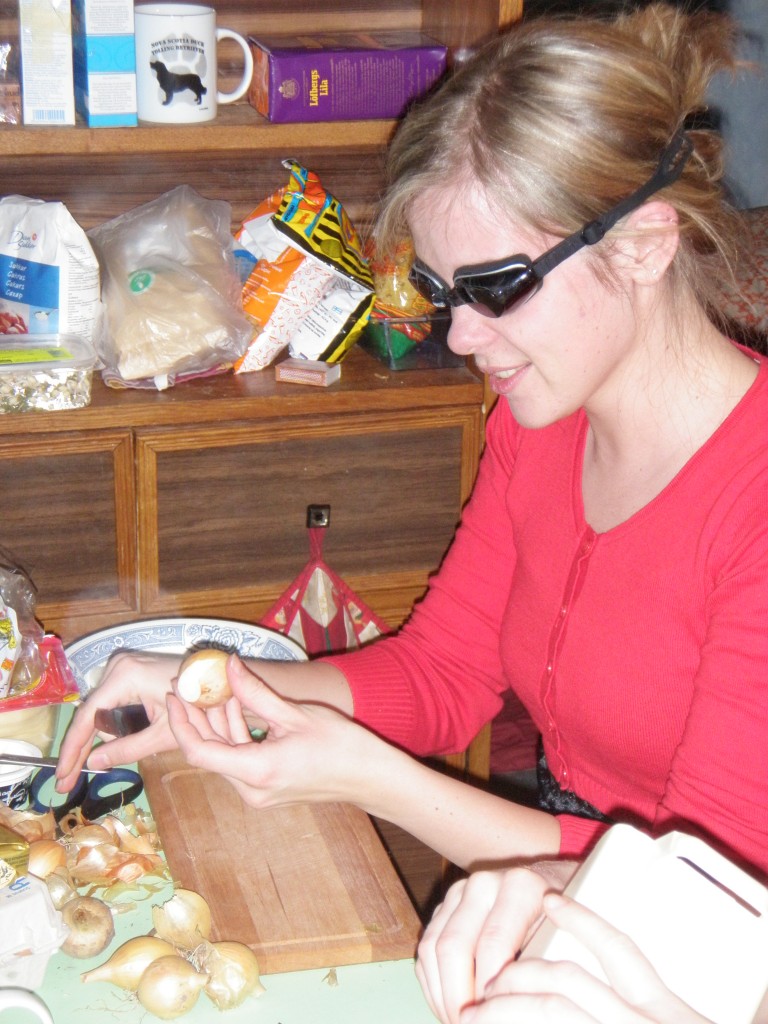
onion peeling
Python namespace hack
If you import a module into your Python program an isolated namespace is built for it which doesn’t contain objects from the caller’s (importer’s) namespace. While this is a lot better than PHP’s everything in single namespace approach, it sometimes gets in my way too.
For example I have an application where I want an imported module to see some things from the importer’s namespace.
The application is basically a web app server written entirely in Python and it imports modules that implement specific applications.
A custom namespace is built for the modules before import and it contains some dynamic objects that are
managed by the core server – for example a public API object that all the modules can register their own API functions into, database connection pools etc.
All is good as long as the module lives in a single file but if it consists of several files it has to do imports in extravagant ways (like the server itself imported the modules) to pass these global server objects along correctly.
Here’s a simplified example:
server.py
api = {'test': 1} def build_app_ns(): return {'api': api} execfile('app.py', build_app_ns()) |
app.py
import app_views print "APP:",api |
app_views.py
print "APP VIEWS:",api |
$ python server.py APP VIEWS: Traceback (most recent call last): File "server.py", line 6, inexecfile('app.py', build_app_ns()) File "app.py", line 1, in import app_views File "app_views.py", line 1, in print "APP VIEWS:",api NameError: name 'api' is not defined
Luckily it seems to be Python’s philosophy that ugly things are not impossible but just hard to do and discouraged so I implemented a namespace helper function that I can use to import any variables from the namespaces present in the call stack, to my own namespace.
import inspect def import_parent_vars(varnames): """Import variables with names specified in the varnames to the local namespace. We start the search from the outermost stack frame and move inwards. @arg varnames: a list of strings or a string containing the variable names that should be imported to the caller's namespace. """ if isinstance(varnames, basestring): varnames = [varnames] stack = inspect.stack() try: caller_frame = stack[1][0] for f in reversed(stack[2:]): fobj = f[0] for v in varnames: if v in fobj.f_locals: caller_frame.f_locals[v] = fobj.f_locals[v] varnames.remove(v) finally: del stack |
Now if we use this helper function from the app_views.py to get the variable api into its namespace everything works as desired:
app_views.py
from ns_helpers import import_parent_vars import_parent_vars('api') print "APP VIEWS:",api |
$ python server.py
APP VIEWS: {'test': 1}
APP: {'test': 1}
The need for this namespace hack can probably be removed altogether if we just refactored all the shared stuff into a separate module and imported that from all the application files but it would require a lot more testing and the restructuring of our existing code.
e-voting and Linux
For the last 4 elections (from about 2005 or so) we (Estonians) have been able to vote electronically from the privacy of our own homes using our national ID card. It really is rather convenient and helps to increase voter turnout. Since the current (local elections) are not finished yet it’s not clear how many of the votes were given electronically but at the moment it’s more than 60000 votes. This is a rather large percentage considering that the whole population of this country is about 1.5 million and voter turnout on the last local elections was a bit over 500 000.
Anyway what I really wanted to talk about is the e-voting support for Linux, that really managed to surprise me in a positive way. The Linux binary of the voting app has been available since the beginning, but a couple of months ago when we had elections for the European Parliament I discovered that this binary was only available for 32 bit Linux and I couldn’t get it running on 64 bit Linux even in the 32 bit compatibility mode. So I sent a complaint letter to the Election Board and used a Windows machine for voting. I really didn’t expect that they will get it fixed in a couple of months, even though it probably only needed recompiling for amd64 target. But they did and the new 64 bit Linux election app actually worked fine and was half the size of the old one even though the old one was dynamically linked and the new one is statically linked.
I guess it’s now time to ask for FreeBSD support and insist that they open source it 🙂
openmoko and robotics
It’s often said that open source software fosters innovation because people can be inspired by work of others and use it in ways that the original author never thought of. The same applies to open hardware and the Openmoko Freerunner is open both sw and hw wise so it lends itself easily to such unforseen uses.
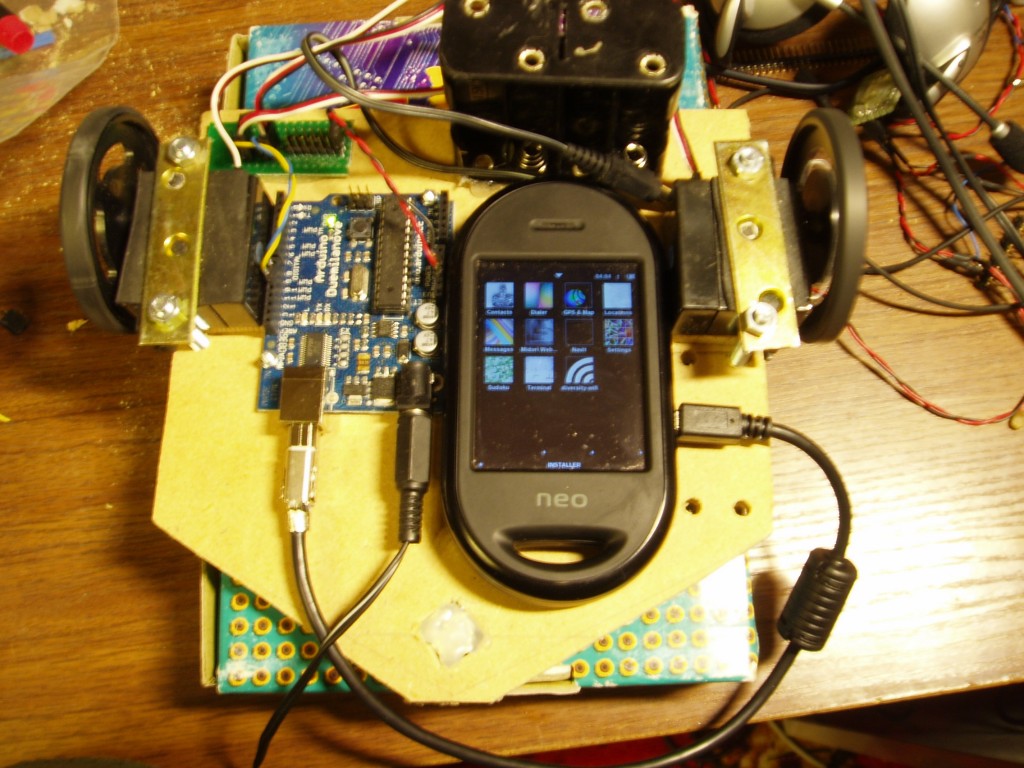
Among other things I use mine for robotics. With high res touch screen, 400Mhz CPU, Wifi, Bluetooth, 2 accelerometers, GPS, USB and other stuff it really has basically all that I have ever needed for a robotics project and I can’t think of anything else that would offer the same specs in similar size for 350€. Obviously you also need a some GPIO lines, PWM, I2C ant other similar IO stuff for a robot and for that purpose I use another open source product – Arduino Duemilanove.
Basically I prefer to design my robots in two logical parts:
- The brain that analyzes the sensory input and makes decisions. In this case this is the Freerunner.
- The peripheral nervous system that handles sensors and actuators. This role is handled by the Duemilanove in this project.
Using this separation allows me to more or less easily switch either of those boards for something else. For example when I need more CPU power for the brain part I might just swap the Freerunner with Beagleboard and the only thing that I would have to change is the USB cable that connects the boards. Having the boards connected just by USB cable means that I didn’t have to rip the Freerunner apart and so when I’m finished with hacking on the robot I can just take the Freerunner and use it for other purposes. Another nice thing about this kind of bot architecture is that I didn’t have to solder anything at all besides the USB cable to get a usable robot base, which is important for people who don’t know much about electronics (like me :-)).
Since the Freerunner has onboard Wifi I just SSH into the robot over it and this allows me to debug and control it without having to connect any special wires / programmers when I want to change something. Openmokos touch screen is also a really good place for displaying various debug information – for example what the environment looks like from the robot’s perspective.


