Tag Archives: robotics

cheap RTK-GPS hardware might soon be available!

As mentioned previously I used two loaned u-blox LEA-6T devkits for my robot mower prototype which seemed to get acceptable precision (~10-20cm) with RTK-GPS using RTKLIB. Problem with this solution was that these devkits cost around 300 EUR which is far too much for my intended usage.

Until now I planned to switch to Yuan 10 for the next prototype. Yuan 10 costs 97.60 per board (antennas not included) and uses SkyTraq S1315F-RAW chip internally which is able to output raw measurement at 5Hz.

It turns out though that there is currently an NavSpark fundraising campaign by the SkyTraq itself which, if sucessful, will get you 2 boards with this chip + active antennas for 50$. At the moment of writing more than half of the campaign time has passed and they are less than 30% funded so if you want cheap RTK-GPS to happen support them and spread the word.

Getting such an high precision GPS solution for so cheap would certainly open many new interesting usage possibilities!

PS. This RTKLIB compatible perk was actually added quite late to their project. Main goal is to produce tiny sub 20$ GPS boards that can be programmed, run at 100Mhz and have lots of usable GPIO pins, which is also awesome.
drgb camera

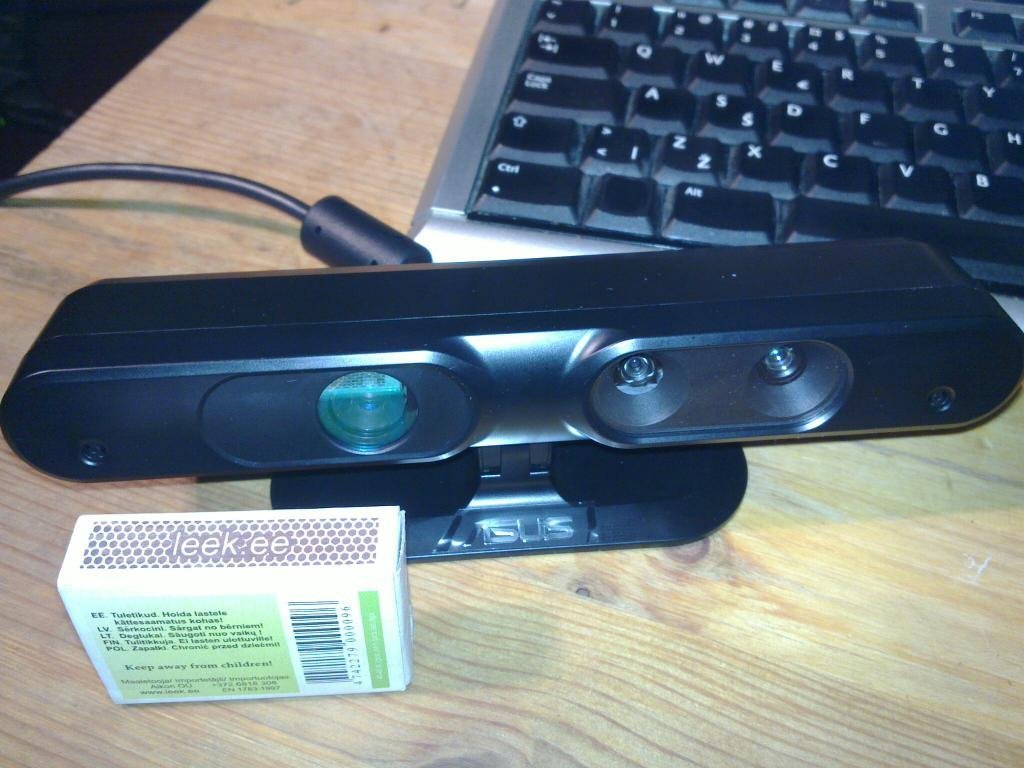
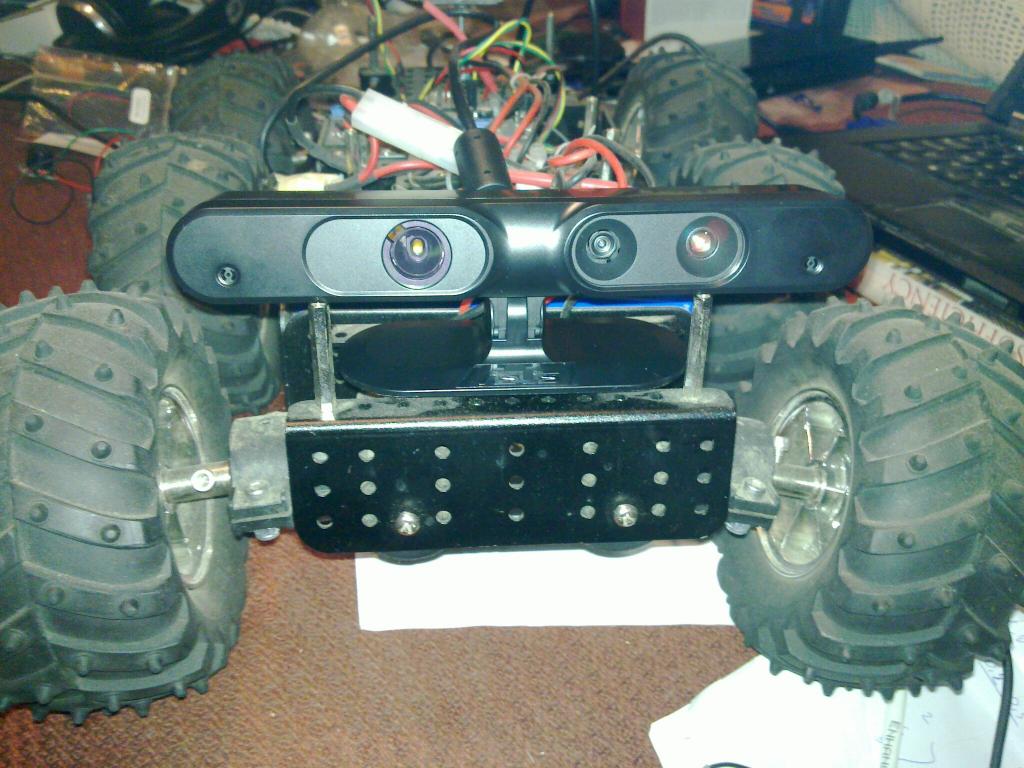
I just bought myself an Asus Xtion PRO Live Depth+RGB camera which I plan to use for robotics experiments. It uses the same technology from PrimeSense for depth as Microsoft Kinect but is about half the size, can be powered solely over USB and weighs around 170g which makes it a better match for robotics.

asus xtion pro live vs. matchbox

xtion_pro_on_wild_thumper_20111221_003

Here are my notes on getting the basic Openni / NITE demos running on ubuntu 11.10:

sudo apt-get install build-essential libusb-1.0-0-dev freeglut3-dev

install openni

mkdir openni
cd openni
git clone https://github.com/OpenNI/OpenNI.git
cd Platform/Linux-x86/CreateRedist
./RedistMaker
cd ../Redist/
sudo ./install.sh

install sensor

git clone https://github.com/PrimeSense/Sensor.git
cd Sensor/Platform/Linux-x86/CreateRedist/
./RedistMaker
cd ../Redist
sudo ./install.sh

install primesense NITE. This seems to be closed source but free of charge
download from http://www.openni.org/Downloads/OpenNIModules.aspx under Middleware binaries. In my case it looks like this:

tar -xf nite-bin-linux64-v1.4.2.3.tar
sudo ./install.sh

this will prompt you for a key, which is: 0KOIk2JeIBYClPWVnMoRKn5cdY4=

then go to directory containing NITE samples and try out some demo apps for example Sample-Players:

cd Samples/Bin/Release
./Sample-Players

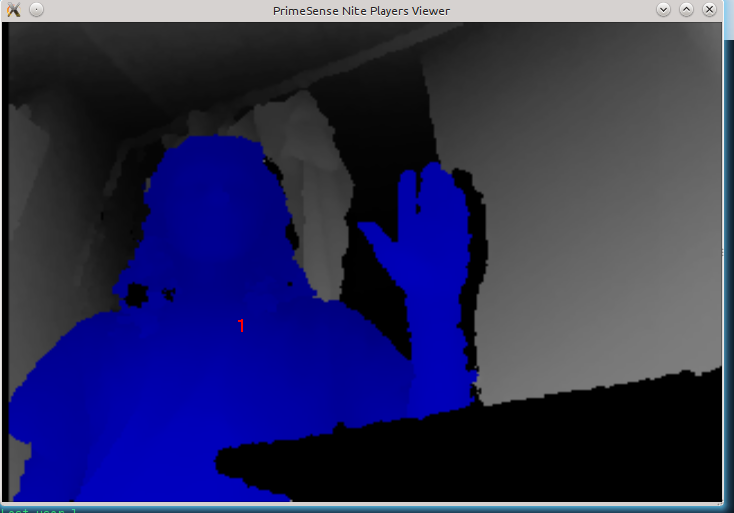
This is how SamplePlayers looks when it has identified me in the picture:
openni nite SamplePlayers demo

Wild Thumper

One of my long term goals is to create an outdoor robot that would automate certain kinds of gardening tasks. I have built some simple indoor robots over the years but haven’t really gotten around to building something that can be used outdoors since there’s a rather large gap in the complexity between these two environments.

For indoor robots you can basically just use toy car wheels directly attached to the servos and use simple wheel encoders to navigate. Outdoors you need a lot bigger wheels, DC motors, motor controllers, suspension, large batteries and preferably a shell that provides protection against the elements. Navigation also becomes a challenge – wheel encoders become rather useless because of the constant slippage and GPS is currently still far too imprecise for navigating in a garden.

So to avoid spending too much time on the mechanics I decided to get Dagu`s Wild Thumper 6WD platform which can handle uneven terrain well, as can be seen from the following demo video from Dagu:

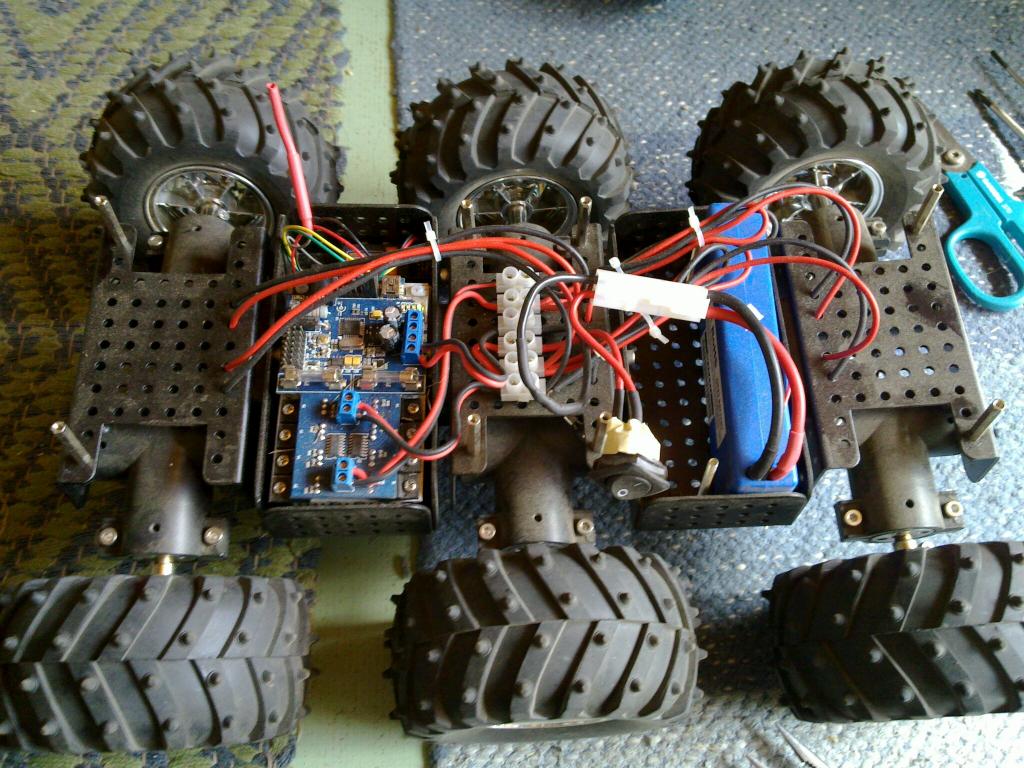
Here’s a picture of my Wild Thumper with Wild Thumper motor controller & 5000 mAh Li-ion battery:
wild_thumper_6wd

Here’s my own first radio controlled test run:

And here’s a demo of the steering with Nokia N900 accelerometers:

By the end of this year I hope to get it autonomously navigating in my garden which is a precondition for most of the interesting applications but is a very complicated task all by itself too.

openmoko and robotics

It’s often said that open source software fosters innovation because people can be inspired by work of others and use it in ways that the original author never thought of. The same applies to open hardware and the Openmoko Freerunner is open both sw and hw wise so it lends itself easily to such unforseen uses.

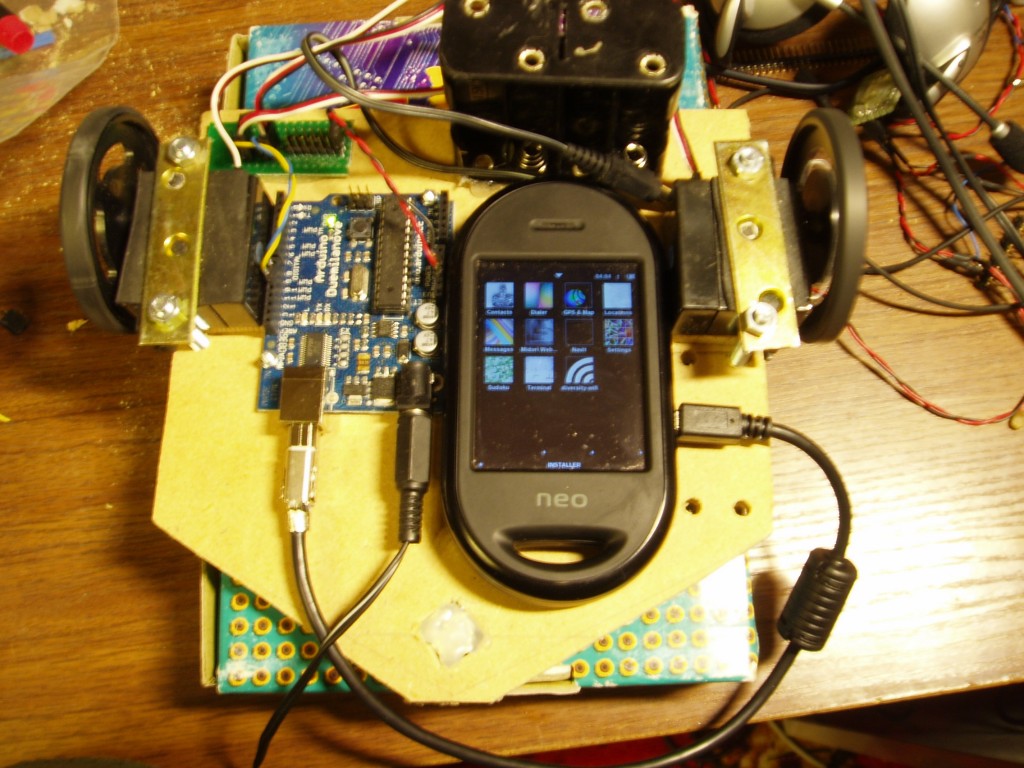
Among other things I use mine for robotics. With high res touch screen, 400Mhz CPU, Wifi, Bluetooth, 2 accelerometers, GPS, USB and other stuff it really has basically all that I have ever needed for a robotics project and I can’t think of anything else that would offer the same specs in similar size for 350€. Obviously you also need a some GPIO lines, PWM, I2C ant other similar IO stuff for a robot and for that purpose I use another open source product – Arduino Duemilanove.

mokobot

Basically I prefer to design my robots in two logical parts:

  • The brain that analyzes the sensory input and makes decisions. In this case this is the Freerunner.
  • The peripheral nervous system that handles sensors and actuators. This role is handled by the Duemilanove in this project.

Using this separation allows me to more or less easily switch either of those boards for something else. For example when I need more CPU power for the brain part I might just swap the Freerunner with Beagleboard and the only thing that I would have to change is the USB cable that connects the boards. Having the boards connected just by USB cable means that I didn’t have to rip the Freerunner apart and so when I’m finished with hacking on the robot I can just take the Freerunner and use it for other purposes. Another nice thing about this kind of bot architecture is that I didn’t have to solder anything at all besides the USB cable to get a usable robot base, which is important for people who don’t know much about electronics (like me :-)).

Since the Freerunner has onboard Wifi I just SSH into the robot over it and this allows me to debug and control it without having to connect any special wires / programmers when I want to change something. Openmokos touch screen is also a really good place for displaying various debug information – for example what the environment looks like from the robot’s perspective.