I was kind of missing the fun temperature charts that I had at my previous home so I decided to get some sensors for the new house too. Using 1-wire network like I did previously didn’t seem reasonable this time around since my current house has 3 floors and cabling it in a way that wouldn’t be ugly would have taken too much effort.
So instead I decided to find some cheap wireless temperature sensors. It turns out you can get a reasonably looking temperature+humidity sensor with a local display and 433 Mhz radio for just 7€ a piece (with free shipping). You can also buy these sensors in a cheap kit with a central screen that shows values from all the senors plus some additional stuff like clock and sunrise times.
I wasn’t really interested in the central screen, so I just bought 3 sensors.
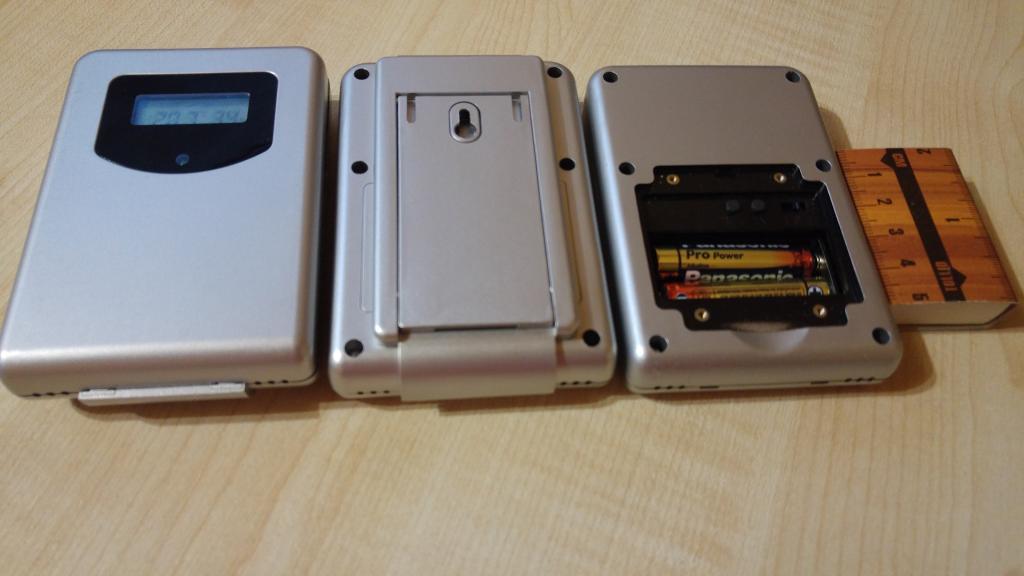
These sensors display humidity and temperature values on the screen and send out these measurements once a minute. When the sensor sends the message it blinks the red led in the front panel which might be a bit annoying if you place it somewhere where you can see it at night. I would probably tape it over or solder it off under these circumstances.
A switch inside the battery compartment allows you to select the channel which makes it possible to differentiate one sensor from another. The switch has 3 positions so it seems that with the normal central screen you are probably limited to 3 sensors. Technically this channel just changes a value in the message so it’s not a radio channel or something like that.
From the protocol perspective there’s also a 8 bit field called random id(rid) which is initialized when the sensor starts. Using the rid field alone or in conjunction with the channel value allows you to use far more sensors than 3. Since rid isn’t under your direct control it might take a bit of fiddling to find a free ID with a larger number of sensors and at some point you will probably have too many collisions in the air but I imagine using 10-20 of these sensors wouldn’t be a problem.
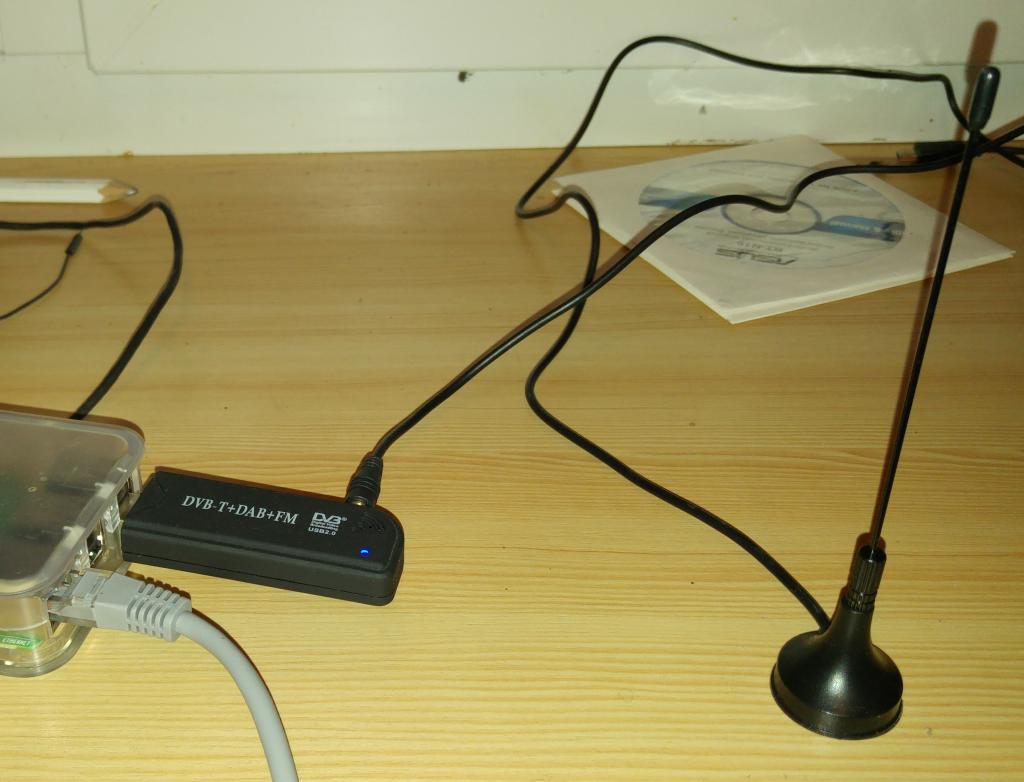
Since I didn’t buy the central screen I still needed a way to actually listen for the measurements that these sensors broadcast. It turns out cheap RTLSDR compatible DVB-T receivers can be used for that purpose with the RTL 433 application.
So I bought the receiver USB dongle with an external antenna and remote from ebay for ~10€.
Once RTL 433 is installed all you need to do to listen for the measurements is to run the rtl_433 command:
# rtl_433 -R 3 -F json
{"time" : "2016-02-13 23:10:19", "model" : "Prologue sensor", "id" : 5, "rid" : 55, "channel" : 2, "battery" : "OK", "button" : 0, "temperature_C" : 10.000000, "humidity" : 52}
{"time" : "2016-02-13 23:10:24", "model" : "Prologue sensor", "id" : 5, "rid" : 170, "channel" : 3, "battery" : "OK", "button" : 0, "temperature_C" : 23.400000, "humidity" : 29}
{"time" : "2016-02-13 23:10:33", "model" : "Prologue sensor", "id" : 5, "rid" : 51, "channel" : 1, "battery" : "OK", "button" : 0, "temperature_C" : 19.800000, "humidity" : 39} |
This output can be easily interfaced to whatever system you use for home automation. My graphs look like this:

My receiver is located on the second floor and the furthest sensor is about 20 meters away through 2 concrete floors and there don’t seem to be any communication problems so far.
One of the sensors came with a faulty radio that I had to replace, but more on that in a separate posting later.